
A lost filling or cracked tooth can strike at any time—on a weekend, during travel, or when dental offices are closed. Without immediate care, pain, sensitivity, and infection risk rise quickly. That’s where knowing how to use temporary tooth filling becomes essential. This quick, effective solution protects exposed dentin, reduces discomfort, and keeps food and bacteria out until you can see a dentist. While not a permanent fix, proper use of temporary filling material can make the difference between manageable pain and a full-blown dental emergency.
In this guide, you’ll learn step-by-step how to apply temporary filling safely and effectively, re-cement a loose crown, care for the repair, and recognize when to seek urgent dental help. Whether you’re using an OTC kit like Dentec Temp-Rin or another brand, these proven techniques ensure the best possible outcome. Most importantly, you’ll understand the limits of temporary solutions—and why seeing a dentist within 24–48 hours is non-negotiable.
Prepare Your Tools and Materials
Before starting, gather everything you’ll need to ensure a clean, dry application. Success depends on preparation.
Gather the Filling Kit Components
Most temporary filling kits include:
– Filling material (pre-mixed putty or two-part powder/liquid)
– Dual-ended applicator tool (scoop and ball tip)
– Mixing stick (if required)
Check the expiration date and seal integrity. Discard if damaged or expired.
Collect Household Supplies
You’ll also need:
– Cotton balls or Q-tips (for drying)
– Tweezers (for precision handling)
– Toothpick or dental floss (to clean the cavity)
– Clean tissue or gauze (to absorb saliva)
Keep all items within reach before beginning.
Clean the Affected Tooth Thoroughly
A dirty or moist cavity ruins adhesion. Start with a deep clean.
Remove Debris From the Cavity
- Brush the tooth gently with a soft-bristled toothbrush.
- Floss around the area to dislodge trapped food.
- Use a toothpick to carefully extract particles from the opening—especially if the missing filling was between teeth.
Warning: Do not poke aggressively. Avoid causing pain or bleeding, which indicates soft tissue exposure.
Rinse and Dry Completely
- Swish with water or warm salt water to flush remaining debris.
- Pat the area dry using a small, pointed cotton ball held with tweezers.
- Wrap tissue around the cotton to increase absorbency.
- Repeat drying as saliva continues to pool.
Critical: Moisture is the #1 reason temporary fillings fail. Work quickly and re-dry as needed.
Mix and Prepare the Filling Material
Proper consistency ensures strong adhesion and smooth shaping.
Use Pre-Mixed Putty Correctly
- Wash and dry your hands.
- Take a pea-sized amount of putty.
- Roll it into a small ball between clean fingers.
- Work fast—some materials begin hardening within minutes.
Tip: Avoid touching the putty to wet surfaces; it may degrade prematurely.
Mix Two-Part Formulas Step by Step
If your kit uses powder and liquid:
1. Squeeze equal amounts onto a clean surface.
2. Use the mixing stick to blend thoroughly.
3. Stir until uniform and moldable, like soft clay.
4. Use immediately—delaying reduces effectiveness.
Note: Do not add extra liquid or powder. Follow the manufacturer’s ratio exactly.
Apply the Temporary Filling

Now place the material securely into the cavity.
Fill the Cavity Completely
- Place the ball of material directly into the opening.
- Use the ball tip of the applicator, a clean finger, or a damp Q-tip to press it firmly inside.
- Ensure no gaps remain—cover all exposed areas.
Pro tip: Overfill slightly. The material will compress when you bite down.
Shape to Match Your Bite
- Gently close your mouth, bringing the teeth together.
- Tap up and down, then move your jaw side to side.
- This molds the filling to your natural bite pattern.
Check for high spots: If the tooth hits first when biting, remove a small amount and re-shape.
Allow Time to Set and Harden
Rushing this step risks dislodging the repair.
Wait 2–3 Hours Before Eating
- Most materials take 2–3 hours to fully harden.
- Avoid all food and drink for at least 1 hour.
- Do not chew on the side with the filling.
Exception: Some fast-setting formulas harden in 5–10 minutes—check your product instructions.
Avoid Hot Liquids
Heat can soften temporary material. Stick to cool or lukewarm beverages during setting.
Re-Cement a Loose Crown Properly

Temporary filling material can also secure a dislodged crown.
Test the Crown Fit First
- Try placing the crown back without cement.
- If it doesn’t seat fully, feels uneven, or causes pain, do not re-cement.
- Store it in a clean container and call your dentist.
Warning: Forcing a misaligned crown can damage the tooth or gum.
Clean and Dry Both Crown and Tooth
- Use a toothpick to remove old cement from the inside of the crown.
- Clean the tooth surface with floss and a damp cotton swab.
- Dry both thoroughly with cotton.
Never boil or sterilize the crown—this can warp it.
Apply and Seat the Crown
- Place a small dot of temporary material inside the crown.
- Avoid overfilling—excess will squeeze out and harden between teeth.
- Align the crown carefully and press down firmly.
- Bite gently several times to seat it fully.
Note: Temporary cement is weak compared to professional bonding—expect it to last only a few days.
Care for the Temporary Repair
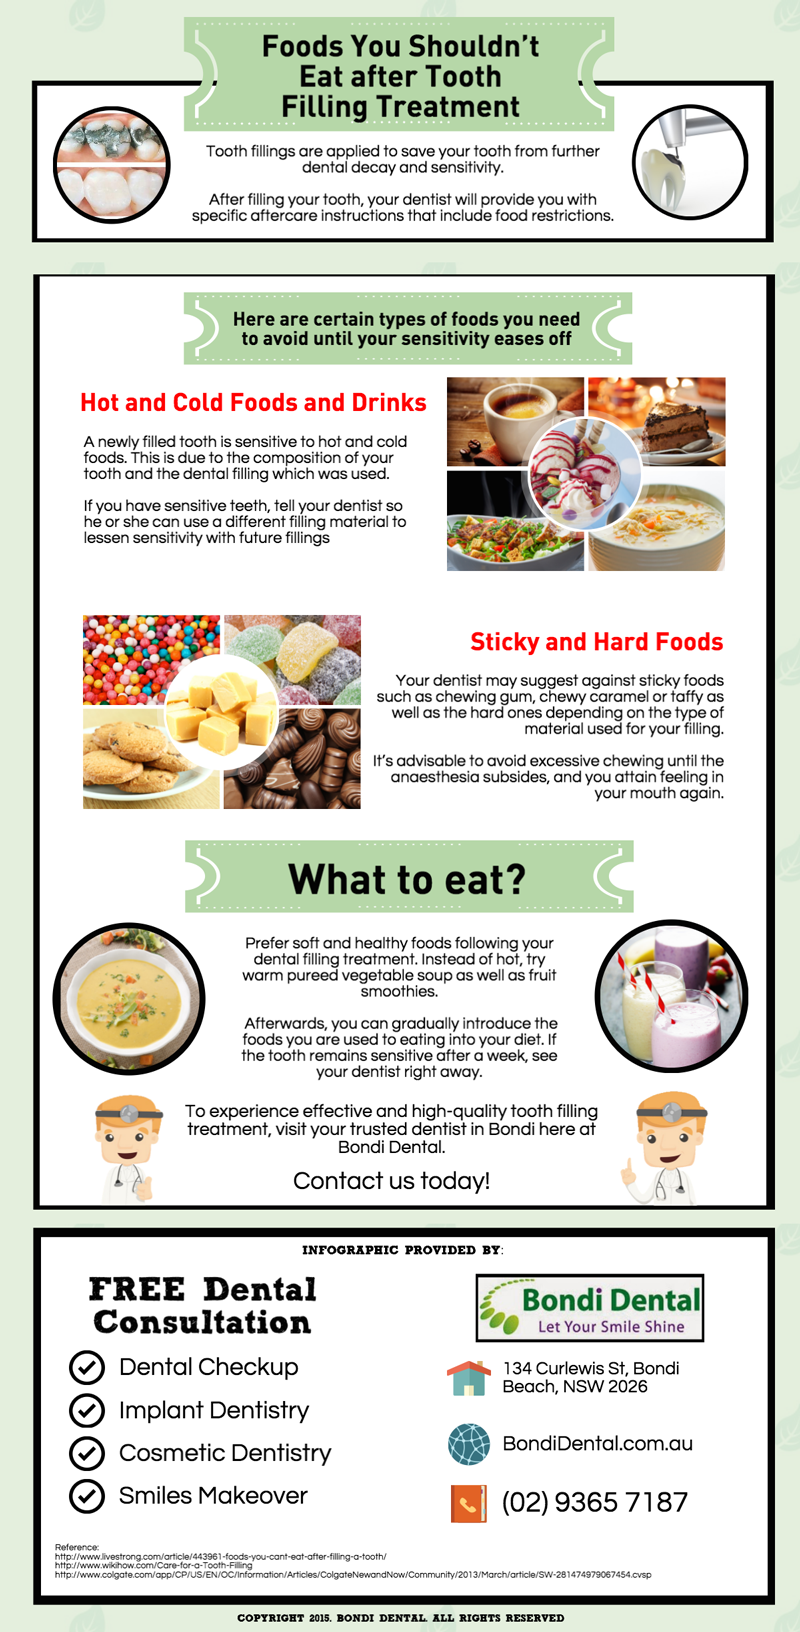
Protect the filling so it lasts until your dental appointment.
Follow Dietary Guidelines
For the first 24–48 hours:
– Eat only soft foods (yogurt, mashed potatoes, soup).
– Avoid:
– Sticky foods (gum, caramel)
– Hard items (nuts, chips, candy)
– Chewy bread or meat (bagels, jerky)
Why: These can pull out or crack the temporary material.
Maintain Oral Hygiene Safely
- Brush normally, but be gentle around the repair.
- Do not floss if the filling is between teeth—flossing may dislodge it.
- If flossing nearby, slide floss out sideways—don’t snap it up.
Tip: Rinse with warm salt water twice daily to reduce bacteria.
Manage Pain and Sensitivity
Some discomfort is normal—but worsening pain is a red flag.
Use Eugenol’s Natural Pain Relief
Many temporary fillings contain eugenol (oil of cloves), which:
– Soothes nerve endings
– Has mild antibacterial effects
– Reduces inflammation
Note: If you’re allergic to eugenol, choose a eugenol-free product.
Take OTC Pain Relievers If Needed
- Use ibuprofen (Advil) or acetaminophen (Tylenol) as directed.
- Rinse with warm salt water (1/2 tsp salt in 8 oz water) to calm irritation.
Seek help if: Pain increases, lingers beyond 2 days, or wakes you at night.
Know How Long It Lasts
Don’t assume the filling will hold forever.
Expect 1–4 Weeks With Ideal Care
- Most temporary fillings last a few days to several weeks.
- Chewing, moisture, and food type shorten lifespan.
- Gradual breakdown is normal.
Reality check: Even if intact, the filling hides underlying decay. Only a dentist can assess the tooth’s health.
Recognize When to See a Dentist Immediately
Temporary fixes buy time—but only if you act fast.
Seek Urgent Care If You Have:
- Filling falls out repeatedly
- Severe or worsening tooth pain
- Swelling in gums, face, or jaw
- Pus or bad taste in mouth
- Fever (sign of abscess)
- Loose crown that won’t stay
- Visible crack or damage below the gum line
Warning: Delaying treatment can lead to pulp death, root canal, or tooth loss.
Understand Risks and Limitations
Temporary fillings are helpful—but they come with important caveats.
Common Problems to Avoid
- Uneven bite: Causes jaw pain or TMJ discomfort
- Dislodgement: From chewing or flossing
- Incomplete seal: Leaves cavity exposed to bacteria
- Material hardens too fast: If mixed wrong or over-applied
Pro tip: Practice the steps before an emergency—know your kit.
Never Use as a Permanent Fix
- Temporary material does not stop decay
- Cannot treat infection or pulp damage
- May trap bacteria if improperly applied
Key fact: Left untreated, cavities grow, reach the nerve, and require root canal therapy.
Schedule Professional Follow-Up
Your job isn’t done until the dentist sees you.
Book an Appointment Within 24–48 Hours
Even if pain stops, see a dentist promptly to:
– Remove temporary material
– Clean and disinfect the cavity
– Check for decay, infection, or structural damage
– Place a permanent filling or crown
Bring the kit packaging—it helps the dentist identify ingredients and remove the material safely.
Final Note: Knowing how to use temporary tooth filling can relieve pain and prevent emergencies from escalating. But it’s only a bridge—not a destination. With clean application, careful use, and timely dental care, you protect your tooth and avoid costly procedures down the line. Act fast, care wisely, and always prioritize professional treatment.