
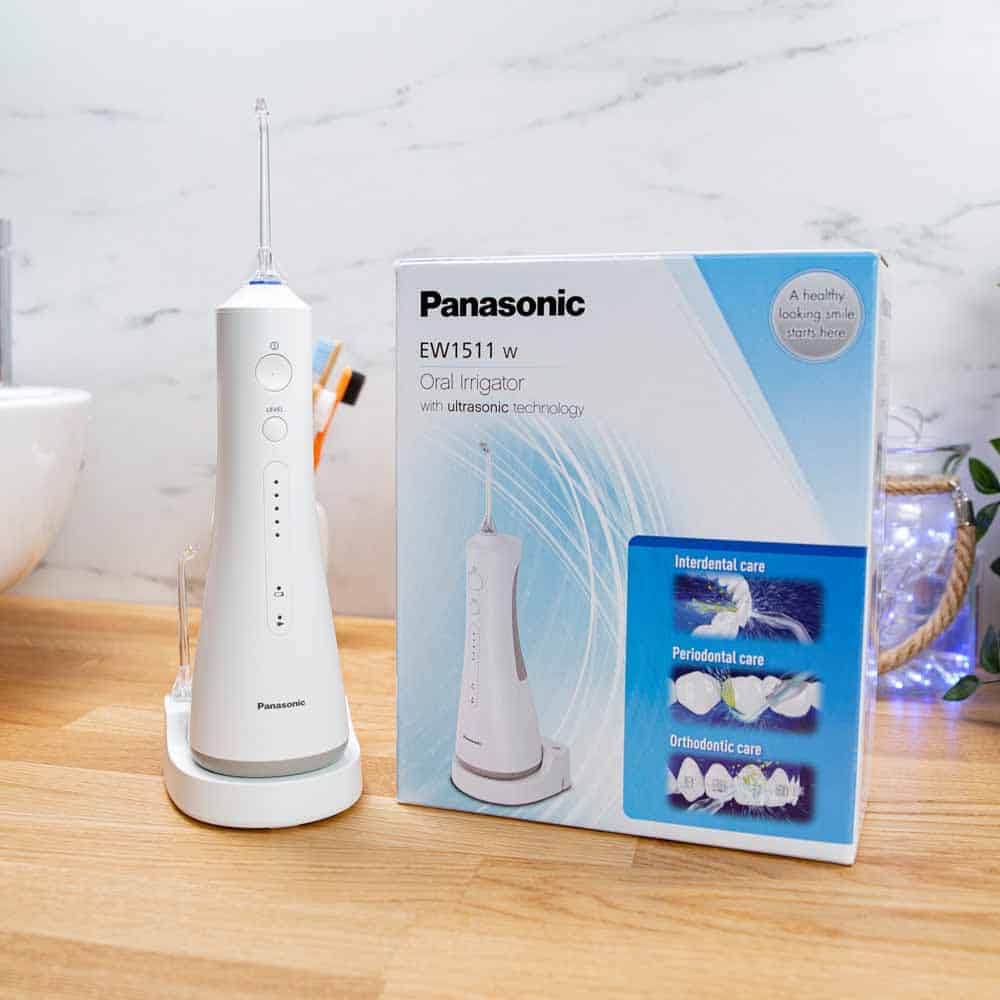
If you have just unboxed your Panasonic water flosser, you are one step closer to a cleaner, healthier smile. This cordless oral irrigator removes plaque, food debris, and bacteria from hard-to-reach areas between teeth and below the gumline. Whether you own the EW1511, EW1311, or EW-DJ66 model, proper use is key to maximizing its benefits. In this guide, you will learn exactly how to use your Panasonic water flosser safely and effectively, from initial setup to daily operation and long-term maintenance.
You will discover how to charge, fill, and operate your device, along with pro tips for sensitive gums, braces, and troubleshooting common issues. By the end, you will have the knowledge to keep your device performing powerfully for years while improving your oral health.
Charge Before First Use
Before using your Panasonic water flosser for the first time, ensure it is fully charged. This step is essential for optimal performance and battery longevity.
Use the Correct Charging Method
The EW1511 comes with a 6-foot power cable and wall-mountable charging stand. Plug it in and allow approximately 1 hour for a full charge. The EW1311 uses non-contact inductive charging, meaning no exposed metal contacts, which is ideal for water resistance. Do not use the device while charging, and unplug after full charge to avoid overcharging.
Pro Tip: Panasonic underestimates battery life. The EW1511 delivers approximately 30 minutes of continuous use at maximum pressure, far exceeding the official 10-minute claim.
Fill the Water Tank Properly

The water reservoir holds 200 ml or 7 oz, which is enough for a full flossing session. Filling it correctly prevents leaks and ensures smooth operation.
Choose the Right Liquid
Lukewarm water is best, especially for sensitive gums. You can add diluted mouthwash or diluted hydrogen peroxide in a 1:1 ratio with water for extra antibacterial power. Avoid undiluted essential oils, alcohol-based rinses, or harsh chemicals, as they may damage internal seals.
Fill to the Line
Remove the tank and fill only to the marked fill line. Overfilling causes leakage during use. The removable base allows full access for cleaning, which is useful for preventing mold and mineral buildup.
Visual Cue: Look for the “MAX” line inside the transparent tank.
Attach and Select Nozzles

Panasonic water flossers use snap-in nozzles with 360-degree rotation for flexible access to back teeth and tight spaces.
Install the Nozzle Correctly
Pick your nozzle, as color-coded rings help identify users in shared households. Push it firmly into the handle until it clicks into place. Rotate to the desired angle, which is ideal for cleaning molars or angled implants.
Know Your Nozzle Types
The standard tip is included for everyday use between teeth and along the gumline. The EW1511 comes with two standard nozzles, while the EW1311 includes four nozzles, which is better for families. No orthodontic, plaque-seeker, or tongue cleaner tips are available for the EW1511.
Replacement Tip: Replace nozzles every 3 to 6 months. Worn nozzles reduce cleaning power and may harbor bacteria.
Choose the Right Pressure Setting
Adjusting pressure ensures comfort and effectiveness, especially for sensitive gums or post-surgery care.
EW1511: Five Pressure Levels
Level 1 operates at 28 psi with one LED lit and is gentle, ideal for beginners or gum sensitivity. Level 3 provides balanced cleaning and comfort for daily use. Level 5 reaches approximately 94 psi with all five LEDs lit for the strongest setting and deep cleaning. The pulse rate is 1,600 pulses per minute at all levels.
Runtime by Setting: Level 1 provides up to 2 minutes, while Level 5 provides 1 minute and 25 seconds per tank.
EW1311: Two Cleaning Modes
JET Mode provides a high-pressure stream for removing trapped food and plaque. AIR IN Mode infuses air for a softer, pulsating flow, which is great for sensitive gums or healing tissue.
User Tip: Start at Level 1 or AIR IN Mode. Gradually increase pressure over 1 to 2 weeks as gums adapt.
Start Flossing: Step-by-Step Technique
Now that your device is set up, follow this proven method for maximum cleaning power.
Position Yourself Correctly
Stand over the sink and lean forward slightly. Close your lips gently around the nozzle tip to reduce splashing while allowing water to drain. Keep your mouth open just enough for excess water to flow out.
Guide the Nozzle Along the Gumline
Turn on the device and select your preferred setting. Start at the back molars and work forward. Hold the tip at a 90-degree angle to the gumline. Move slowly between each tooth, pausing briefly to let the pulsating stream dislodge debris. For deeper cleaning, angle slightly below the gumline without forcing.
Distance Tip: Keep the nozzle 1 to 2 mm away from gums. Too close increases irritation risk.
Complete Both Arches
Floss the entire upper arch, then the lower arch. Most users finish in 1 to 2 minutes with no refill needed. The ADA recommends daily interdental cleaning, and this fits perfectly into that routine.
Clean After Every Use
Daily maintenance prevents mold, bacteria buildup, and clogs in your device.
Empty and Rinse Immediately
Turn off and unplug the device. Remove the nozzle and empty remaining water from the tank. Rinse both nozzle and tank under running water. Wipe the handle with a damp cloth, but never submerge the main unit.
Store Properly
Place the flosser and nozzles on the wall-mountable stand. The stand holds up to two nozzles and keeps everything organized. Let all parts air dry completely before reassembly.
Mold Prevention: Always remove the tank base and dry it thoroughly. Moisture trapped underneath breeds mold.
Perform Weekly Deep Cleaning

Mineral deposits and bacteria can build up over time, especially if you use tap water.
Disinfect the Nozzle
Soak in white vinegar or diluted bleach in a 1:10 ratio for 10 minutes. Rinse thoroughly with clean water. Shake off excess and air dry completely.
Flush the Water Path
Fill the tank with vinegar solution in a 1:1 ratio. Run the device for 30 seconds to flush internal tubing. Rinse with clean water and repeat if needed.
Check for Clogs: If water flow weakens, clean or replace the nozzle.
Optimize for Different Needs
Customize your flossing experience based on your specific oral health condition.
Sensitive Gums
Use Level 1 or AIR IN Mode. Warm water increases comfort. Floss every other day at first, then daily as gums strengthen.
Braces or Aligners
Use Level 4 to 5 or JET Mode after meals. Focus on cleaning around brackets and under wires. Pair with an interdental brush for best results.
Periodontal Pockets
Use Level 5 and angle the tip slightly below the gumline. The pulsating stream disrupts bacteria in pockets. Consistent use may reduce pocket depth over time.
Post-Surgery Care
Wait until cleared by your dentist before use. Use AIR IN Mode, which is gentle yet effective. Avoid direct contact with surgical sites.
Clinical Note: While the EW1511 lacks the ADA Seal of Acceptance, user testing shows performance comparable to top models like Waterpik Cordless Advanced.
Troubleshoot Common Issues
Even well-maintained devices can have problems. Here is how to fix them fast.
Leaking from the Base
This is caused by a loose or dirty removable tank base. Remove, clean the seal, and reattach firmly.
Weak Water Flow
This is caused by a clogged nozzle or mineral buildup. Soak in vinegar or replace the nozzle.
Device Will Not Turn On
This is caused by low battery or dirty charging contacts. Recharge fully. For EW1511, check cable connection. For EW1311, wipe the charging surface.
Nozzle Will Not Rotate
This is caused by debris blocking rotation. Remove, rinse under warm water, and test movement.
Unpleasant Odor
This is caused by mold or bacteria in the tank. Deep clean with vinegar and ensure complete drying.
Prevention Tip: Clean after every use. Do not let water sit overnight.
Maintain Battery and Longevity
Get the most out of your investment with smart charging and storage habits.
Maximize Battery Life
Charge fully before first use, which takes approximately 1 hour. Unplug after charging and do not leave on the stand indefinitely. For long-term storage, charge to approximately 50 percent and keep in a cool, dry place.
Avoid Extreme Conditions
Do not expose to direct sunlight, steam, or freezing temperatures. Keep away from humid environments like unventilated bathrooms.
Real-World Runtime: The EW1511 lasts approximately 30 minutes at maximum pressure, which is enough for 15 to 20 sessions per charge.
Replace Parts and Plan for Long-Term Use
Your flosser can last 1 to 2 years or more with proper care, but nozzles wear out over time.
Order Nozzles Early
Replacement cost is approximately $30 or £20 for a 2-pack, which is expensive compared to competitors. Availability can be hard to find, so buy in advance. Only use third-party options if they are BPA-free and compatible.
Consider Travel Alternatives
No travel case is included with EW1511. For portability, Panasonic offers the EW-DJ10, which has a collapsible design. Alternatively, use a small pouch to protect the nozzle during travel.
Pro Tip: The Waterpik Cordless Advanced offers better value with lower accessory costs and more nozzle types.
Frequently Asked Questions About Panasonic Water Flosser
How long does the battery last on a full charge?
The EW1511 delivers approximately 30 minutes of continuous use at maximum pressure, which exceeds the official 10-minute claim. This provides enough power for 15 to 20 flossing sessions under normal use.
Can I use mouthwash in my Panasonic water flosser?
Yes, you can add diluted mouthwash in a 1:1 ratio with water. Avoid undiluted essential oils or alcohol-based rinses, as they may damage internal seals.
How often should I replace the nozzles?
Replace nozzles every 3 to 6 months. Worn tips reduce cleaning efficiency and may harbor bacteria.
Which pressure setting is best for sensitive gums?
Start with Level 1 or AIR IN Mode. Use lukewarm water for added comfort. Gradually increase pressure over 1 to 2 weeks as gums adapt.
Is the Panasonic water flosser waterproof?
The EW1311 features non-contact inductive charging for enhanced water resistance. However, do not submerge the main unit in water. Wipe the handle with a damp cloth only.
Can I use this with braces?
Yes. Use Level 4 to 5 or JET Mode after meals to remove trapped food around brackets and under wires. Pair with an interdental brush for best results.
Key Takeaways for Using Your Panasonic Water Flosser
Using your Panasonic water flosser daily can improve gum health and reduce plaque in as little as one week. The five pressure settings, long battery life, and ergonomic design make the EW1511 a strong performer for most users. To keep it working flawlessly, clean after every use, replace nozzles every 3 to 6 months, and use filtered water when possible.
Pair your water flosser with brushing and regular dental visits for a complete oral care routine. With consistent use and proper maintenance, your device will provide years of effective interdental cleaning.