
You finish your nightly oral care routine, and then you notice it: a faint black speck inside the reservoir or a musty smell when you turn the device on. If you’re seeing these signs, your water flosser likely has mold. Mold thrives in dark, moist environments, and your water flosser creates the perfect breeding ground for black mold, mildew, and biofilm to develop in internal tubing, pump chambers, and nozzle connections.
This guide gives you a complete, step-by-step plan to remove existing mold, disinfect hidden areas, and prevent future growth using safe household products like vinegar and hydrogen peroxide. You’ll also learn how to spot early warning signs, clean specific parts, and adopt a maintenance schedule that keeps your device hygienic for years.
Identify Mold in Your Water Flosser
Before cleaning, confirm whether you’re dealing with mold, mineral buildup, or both. Many users mistake mold for limescale, so understanding the difference is essential for effective treatment.
Signs of Mold Growth
Watch for these indicators that mold has taken hold in your device:
- Black, green, or gray spots appearing in the reservoir, tubing, or around the nozzle base
- A distinct musty or sour odor when running the device
- Slimy residue coating the inside of the tank or on internal surfaces
- Cloudy or discolored water during use despite using clean input water
- Reduced water pressure or sputtering spray during operation
- Visible gunk or particles being expelled from the tip during use
Mold appears darker and often slimy, spreading across surfaces in a way that differs from mineral buildup. Limescale appears chalky, white, or off-yellow and typically forms in hard water areas. If you’re unsure, smell the area—mold has a distinct mildew-like odor that limescale doesn’t produce.
Unplug and Disassemble the Water Flosser

Proper disassembly ensures you can reach all areas where mold hides. Taking these safety steps protects both you and your device during cleaning.
Safety First
Always unplug the device from the power source before beginning any cleaning procedure. For cordless models, ensure it’s not charging. Never submerge the base unit or handle in water, as this can damage internal electronics and create electrical hazards.
Remove Key Components
Take out the water reservoir and eject all flossing tips. Remove the black rubber valve if present by pushing up from the bottom of the reservoir base. Detach the handle for countertop models. Consult your user manual for model-specific disassembly steps, as some parts may not be user-serviceable and attempting to remove them could void your warranty.
Clean the Reservoir Thoroughly
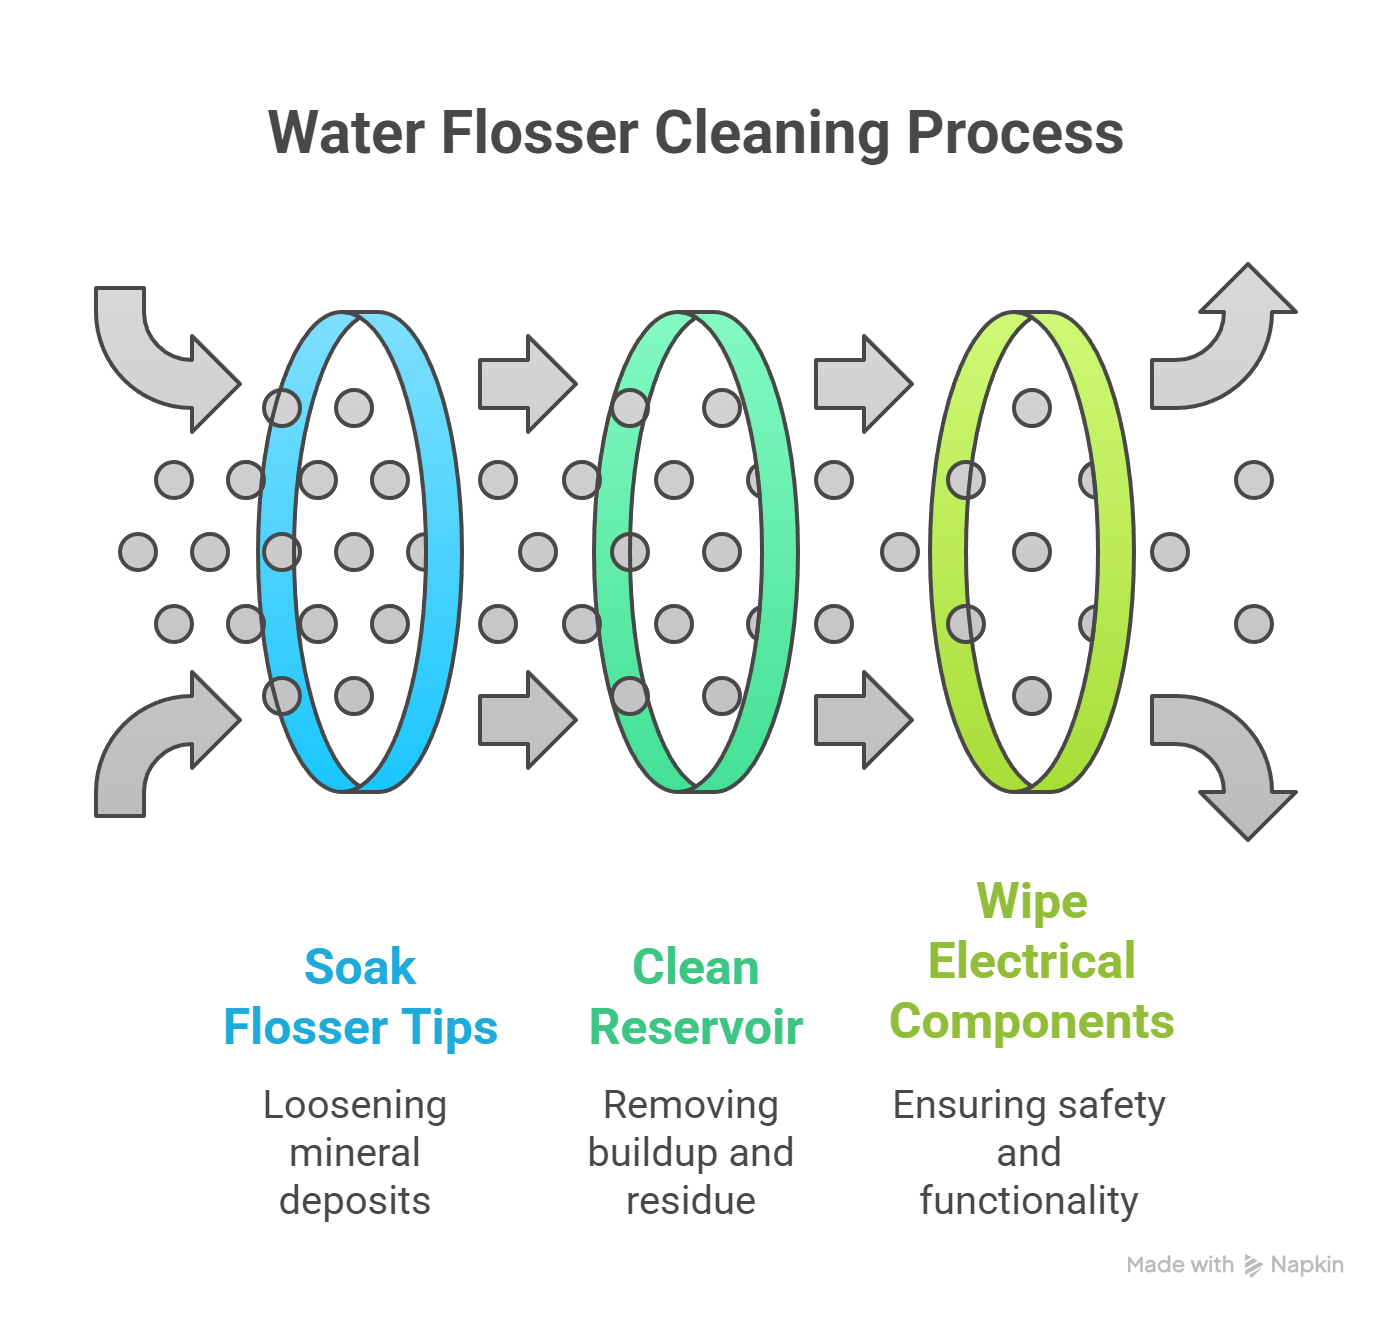
The reservoir is a primary mold hotspot because it holds water that sits for hours. Using the right cleaning method based on your model ensures thorough mold removal.
Dishwasher Cleaning
Place the reservoir and lid on the top rack of your dishwasher. Use a gentle cycle without heated dry. Confirm dishwasher safety in your manual first—many Waterpik and Oral-B models allow this method. Heated dry can warp plastic, so air drying is always safer.
Hand Wash with Soap and Brush
Use warm, soapy water and a soft sponge to scrub inside corners, the base, and around the valve opening. A bottle brush reaches deep areas that sponges cannot. Avoid abrasive scrubbers that scratch plastic and create surfaces where bacteria can hide.
Vinegar Soak for Deep Cleaning
Mix equal parts white vinegar and warm water in a 1:1 ratio. Fill the reservoir halfway and soak for 5-10 minutes for light buildup or 15-30 minutes for stubborn mold or limescale. Swish gently to coat all surfaces, then rinse thoroughly with clean water.
Hydrogen Peroxide Soak Alternative
Mix 2 parts water to 1 part 3% hydrogen peroxide. Soak for 5-10 minutes. This method is effective for killing mold spores and bacteria without leaving a strong odor. Rinse well after soaking. Never mix vinegar and hydrogen peroxide in the same cleaning cycle—they neutralize each other and reduce effectiveness.
Flush Internal Tubing and Pump
This step removes mold from areas you can’t see or reach with brushes. Internal tubing and pump components are notorious for harboring biofilm that regular cleaning misses.
Prepare the Cleaning Solution
Choose one of these options based on your needs. Use 1-2 tablespoons of white vinegar per full reservoir of warm water. The 1:2 vinegar-to-water ratio works for regular maintenance, while a 1:1 ratio tackles severe mold. As a non-toxic alternative, use 2 parts water to 1 part 3% hydrogen peroxide. Never use undiluted vinegar, as it can degrade rubber seals over time.
Run the Flush Cycle
Reattach the clean reservoir to the base unit. Do not attach a flossing tip. Insert the handle into the base and turn on the device. Run the solution through until the tank is empty. This flushes mold and biofilm from internal tubing, pump, and nozzle pathways.
Rinse Thoroughly
Refill with clean warm water and run a full cycle to remove cleaning residue. Repeat if using strong solutions like bleach. Never run the device dry for more than a few seconds after water depletion—this can damage the pump permanently.
Sanitize Flossing Tips and Nozzles
Tips touch your gums and teeth directly, so they must be sanitized regularly to prevent reintroducing bacteria into your mouth.
Daily Care Routine
Rinse tips under running water after each use. Shake off excess water and store upright in a ventilated holder to air dry. This simple step prevents moisture from becoming trapped and feeding mold growth.
Weekly Deep Clean
Soak tips in 2:1 water-to-white vinegar or 2:1 water-to-hydrogen peroxide for 5-10 minutes. Use a soft toothbrush to scrub the nozzle opening if debris has accumulated. Rinse thoroughly before reattaching.
Replace Tips on Schedule
Swap out tips every 3-6 months regardless of visible condition. Discard tips that are cracked, discolored, or clogged. Worn tips harbor biofilm and reduce cleaning efficiency, making your water flosser less effective at removing plaque.
Clean the Handle and Connection Point
Microbial growth often occurs where the handle inserts into the base. This connection point traps moisture and creates an ideal environment for mold.
For Detachable Handles
Submerge the bottom inch of the handle in a 2:1 water-to-vinegar solution. Soak for 5-7 minutes, then rinse and air dry completely before reassembly. Wipe the base port with a vinegar-dampened cotton swab to remove any residual mold.
Never immerse the handle beyond this limited depth—water can damage internal electronics and void your warranty.
Wipe Down Exterior and Base Unit
Surface grime and moisture around buttons can lead to mold and sticky controls. Regular exterior cleaning prevents this hidden contamination.
Cleaning the Exterior
Dampen a soft cloth with mild soap or vinegar solution. Wipe the housing, control panel, and power cord. Use a cotton swab to clean around buttons and crevices where debris accumulates. Dry with a clean towel immediately after wiping.
Critical Rules to Follow
Never submerge the base unit in water. Avoid excessive moisture near electrical components. Do not use bleach or harsh chemicals unless diluted and rinsed completely. These rules protect your device from damage while ensuring safe cleaning.
Air Dry All Components Completely
Drying is the most overlooked but essential step in mold prevention. Even small amounts of remaining moisture create perfect conditions for mold to return.
Proper Drying Protocol
Place all parts on a clean towel in a well-ventilated area. Leave the reservoir open or detached from the base. Allow 6-12 hours of air drying before reassembly. Store with the reservoir off or open to prevent moisture trapping.
Do not use a hairdryer or oven—heat can warp plastic and damage seals. Room temperature air drying is safest for all components.
Deep Clean for Severe Mold Infestation
If mold persists despite regular cleaning, deeper intervention is needed. Severe infestations require more aggressive methods to restore your device.
Manual Disassembly Approach
Some users open their units to access mold around buttons, wiring, and pump enclosures. Use a soft toothbrush to scrub visible mold in ports and crevices. Avoid damaging internal electronics. Only attempt this if you’re comfortable working with small appliances.
Bleach Flush as Last Resort
Mix 1 part household bleach to 10 parts water. Run through the system once every 1-2 weeks if mold is recurring. Flush with two full water cycles afterward to remove all bleach residue. Never mix bleach with vinegar—toxic chlorine gas can form and pose serious health risks.
Bleach is harsh on plastics and seals, so use this method sparingly and only when other methods have failed.
Prevent Mold with a Maintenance Routine
Prevention is easier than cleanup. Following a consistent maintenance schedule keeps your flosser mold-free with minimal effort.
Daily Prevention Steps
Empty the reservoir after each use. Run the device for 2-3 seconds to clear tubing. Rinse the reservoir with clean water. Leave it detached or open to dry. Rinse the tip and air dry before storing.
Weekly Maintenance Tasks
Wash reservoir and tip with soapy water. Wipe down the base and handle. Inspect for discoloration or residue that might indicate early mold growth.
Monthly Deep Clean
Soak reservoir in 1:1 vinegar-water for 10 minutes. Flush system with 1-2 tablespoons vinegar per tank. Sanitize tips in 2:1 water-to-peroxide. Clean the black valve under warm water for 30-45 seconds if present.
Replace Tips Every 3-6 Months
Inspect internal components during tip replacement. Consider replacing the unit if mold returns despite thorough cleaning. Regular replacement ensures optimal performance and hygiene.
Use Distilled Water to Prevent Buildup
Tap water contains minerals that promote limescale, which traps moisture and feeds mold growth. Switching to distilled water is the single most effective prevention step.
Benefits of Distilled Water
Distilled water contains no minerals, reducing limescale formation significantly. This means reduced biofilm adhesion, longer pump life, and fewer cleaning cycles needed. Many users report going months without any mold issues after making this simple switch.
Fill the reservoir with distilled or filtered water every time you use your device. This one change dramatically reduces the effort required to keep your water flosser clean.
Store Properly to Avoid Moisture Trapping
How you store your flosser matters as much as how you clean it. Improper storage can undo all your cleaning efforts within days.
Best Storage Practices
Keep your device in a dry, cool place with good airflow. Never store in a closed cabinet while damp. Leave the reservoir off or open. Avoid humid environments like steamy bathrooms where moisture in the air can re-enter the device.
Model-Specific Tips for Oral-B and Waterpik
Different brands have specific cleaning requirements. Understanding your model ensures you’re using the right methods.
Oral-B Water Flossers
Oral-B reservoirs are dishwasher-safe on the top rack only. Wipe the handle—do not submerge it. Replace tips every 3-6 months. Use short bursts to clear water after each use rather than running continuously.
Waterpik Models
The WP560 is particularly prone to internal mold, so clean monthly with 1-2 tablespoons vinegar per tank. Flush with vinegar solution, then rinse with clean water. Soak tips in 2:1 water-to-vinegar. Clean the black valve regularly. Replace tips every 3-6 months.
Safe and Effective Cleaning Agents
Using the right cleaning products ensures effective mold removal without damaging your device.
| Solution | Best For | Dilution | Frequency |
|---|---|---|---|
| White Vinegar | Mold, bacteria, limescale | 1:1 or 1:2 with water | Monthly or weekly in hard water |
| Hydrogen Peroxide | Sanitizing tips and reservoir | 2:1 water to peroxide | Weekly |
| Dish Soap | Surface cleaning | Warm soapy water | Weekly |
| Distilled Water | Daily use | N/A | Every use |
| Diluted Bleach | Severe mold | 1:10 water to bleach | Every 1-2 weeks with caution |
Avoid abrasive cleaners, undiluted vinegar, and mixing bleach with vinegar.
Recognize When to Replace the Unit
Even with excellent cleaning, some units cannot be saved. Knowing when to replace protects your health and ensures effective oral care.
Replace If
Mold returns within days of deep cleaning despite thorough maintenance. Pump fails or water pressure drops permanently. Cracks or warping appear in the reservoir or base. The unit contains a rechargeable battery and is heavily contaminated.
Dispose of battery-containing units at a hazardous waste facility—do not throw them in regular trash.
Key Takeaways for Cleaning Mold from Your Water Flosser
Your water flosser can harbor mold in hidden areas like internal tubing, pump chambers, and nozzle connections. Regular cleaning using vinegar or hydrogen peroxide removes existing mold, while consistent maintenance prevents future growth. Empty and dry the reservoir after each use, flush monthly with vinegar solution, and replace tips every 3-6 months for best results.
Switching to distilled water dramatically reduces mold risk by eliminating minerals that promote limescale and biofilm. Store your device with the reservoir open in a dry location. If mold persists despite thorough cleaning, consider replacing the unit—especially if you have a model known for internal mold issues like the Waterpik WP560.
By following these steps, you’ll eliminate mold, protect your oral health, and extend your device’s life. A clean water flosser means cleaner gums, fresher breath, and peace of mind with every use.
Frequently Asked Questions About Cleaning Mold from a Water Flosser
How often should I clean my water flosser to prevent mold?
Clean your water flosser after each use by rinsing the reservoir and running clean water through the system. Perform a deep clean with vinegar monthly, or weekly if you live in a hard water area or humid environment.
Can I use bleach to clean my water flosser?
You can use diluted bleach (1 part bleach to 10 parts water) as a last resort for severe mold. Run it through the system, then flush with two full water cycles. Never mix bleach with vinegar, as this creates toxic chlorine gas.
Why does mold keep coming back in my water flosser?
Mold returns when moisture remains trapped in the device. Always empty the reservoir completely after use, leave it open to air dry, and store in a dry location. Using tap water instead of distilled water also promotes mineral buildup that traps moisture.
Is mold in my water flosser dangerous?
Mold can be harmful if inhaled or ingested during use. Mold spores and fragments may enter your mouth and respiratory system. Additionally, mold can degrade your device’s performance and cause mechanical failure over time.
Which water flosser models are most prone to mold?
The Waterpik WP560 has been specifically cited in user reports for recurring internal mold issues. Models with open reservoirs, non-sealed pathways, or components that trap moisture are generally more susceptible to mold growth.
Can I put my water flosser reservoir in the dishwasher?
Many Oral-B and Waterpik reservoirs are dishwasher-safe on the top rack using a gentle cycle. Always avoid the heated dry function, as it can warp plastic. Check your user manual to confirm your specific model is dishwasher-safe.