
If you’ve ever turned on your water flosser and noticed a musty smell or seen dark spots in the reservoir, you’re not alone. Mold in water flossers is a surprisingly common issue, and one that poses real health risks. Because these devices combine moisture, warmth, and organic debris from the mouth, they create an ideal breeding ground for mold and bacteria if not properly maintained. The good news is that preventing mold in a water flosser is completely within your control with the right cleaning habits and storage practices.
Ignoring mold prevention can lead to inhaling or ingesting mold spores and mycotoxins, which may trigger coughing, sinus infections, fatigue, and more, especially in sensitive individuals. But by following a simple daily, weekly, and monthly routine, you can keep your water flosser hygienic, effective, and safe.
Empty Reservoir After Every Use
Leaving water in your flosser overnight is the number one cause of mold growth. Stagnant water creates the perfect environment for mold spores to settle and multiply within 24 to 48 hours.
Why Standing Water Is Dangerous
Water left in the reservoir provides constant moisture, which is a key ingredient mold needs to thrive. Even if the water looks clean, oral debris, mineral deposits, and microscopic biofilm can accumulate, feeding microbial colonies.
Warm bathroom temperatures between 40 and 90 degrees Fahrenheit accelerate growth. Internal tubing and valves stay damp long after use, hiding mold from view. Tap water minerals encourage biofilm buildup, which protects mold from cleaning.
Action Steps
After each flossing session, follow these steps:
- Turn off and unplug the device for countertop models.
- Remove the reservoir and pour out all remaining water.
- Shake gently to remove droplets from corners and under the lid.
This one step eliminates the primary condition mold requires, moisture, and should never be skipped.
Rinse and Dry Components Daily
Cleaning does not stop at emptying the tank. Daily rinsing and drying prevent residue buildup and ensure all parts dry completely.
Clean the Nozzle Immediately
The tip comes into direct contact with your mouth and can trap saliva, blood, and plaque.
Remove the tip after use. Rinse it under warm running water for 10 to 15 seconds. Use a soft brush, like an old toothbrush, to scrub the opening if needed.
Pro Tip: Store tips with the nozzle facing up to allow drainage and reduce dust exposure.
Air-Dry the Reservoir and Handle
Moisture trapped in crevices fosters invisible mold colonies.
Place the reservoir upside down on a clean towel. Leave the cap off to promote airflow. Wipe the outside with a dry cloth. For cordless models, avoid placing the base near sinks or showers where humidity is high.
Warning: Never store the device with any part still damp. Even a small amount of moisture can lead to mold within two days.
Weekly Deep Cleaning Routine
Daily rinsing removes surface debris, but a weekly deep clean tackles biofilm, bacteria, and early mold formation.
Wash Reservoir with Soap and Brush
Biofilm, a slimy layer of microorganisms, can coat the inside of the reservoir over time.
Use mild dish soap and warm water. Scrub all surfaces, especially corners and under the lid, with a soft sponge or bottle brush. Rinse thoroughly to remove soap residue.
Avoid abrasive pads. They scratch plastic and make it easier for microbes to cling.
Disinfect the Tip
Soaking kills mold spores and bacteria hiding in hard-to-reach areas.
Choose one of these safe, effective solutions:
- White vinegar (5%) and water (1:2 ratio) – Soak for 5 to 30 minutes
- 3% hydrogen peroxide – Soak for 5 to 10 minutes
After soaking, rinse the tip under running water. Shake out excess liquid and air-dry upright.
Note: Do not mix vinegar and hydrogen peroxide. They cancel each other out when combined.
Monthly System Flush with Vinegar
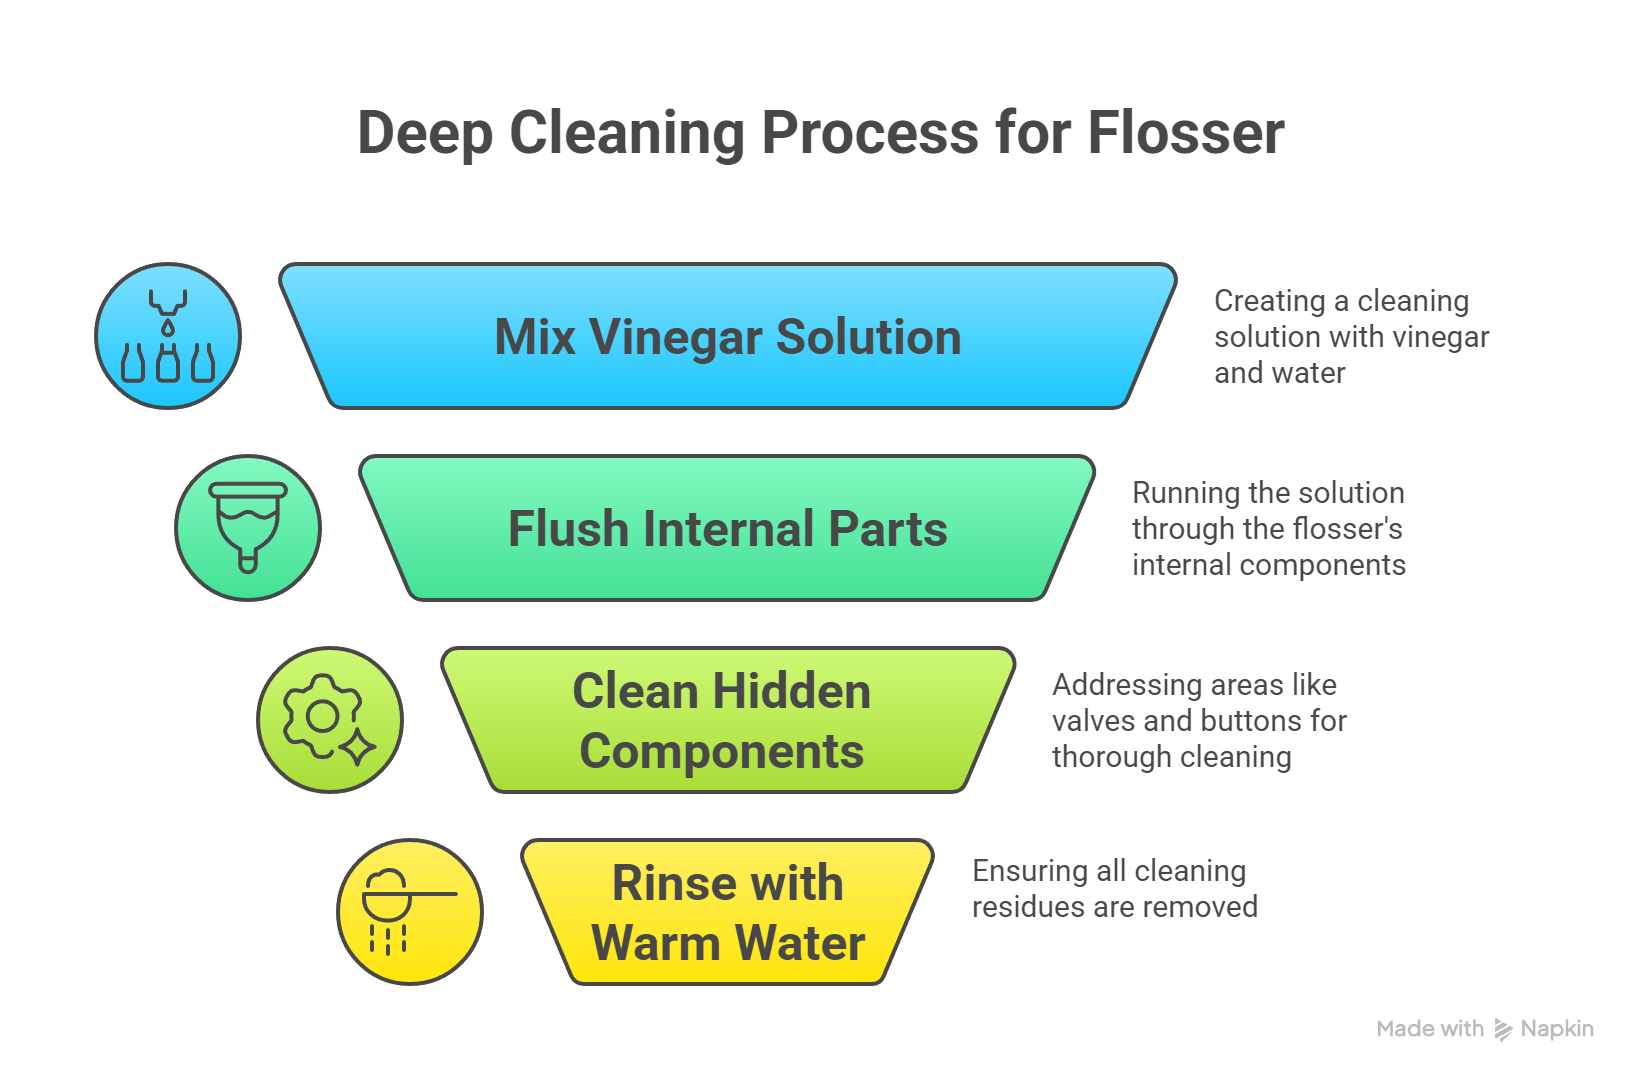
Mineral deposits and internal biofilm cannot be removed by rinsing alone. A monthly vinegar flush cleans the entire water path, from reservoir to nozzle.
Prepare the Cleaning Solution
Mix one part white vinegar with two parts warm water. White vinegar is natural, non-toxic, and effective against mold, bacteria, and limescale.
Fill the reservoir with the solution. Reattach to the base or handle.
Run the Flush Cycle
Treat this like a regular flossing session:
- Turn on the device.
- Run the vinegar solution through all nozzles for 30 to 60 seconds.
- Discard remaining liquid.
Visual Cue: You may see cloudy particles or film. This is biofilm breaking loose.
Rinse Thoroughly
Vinegar residue can irritate gums and leave an unpleasant taste.
Refill the reservoir with clean warm water. Run through the system for another 30 seconds. Repeat if needed until water runs clear and odor-free.
Clean and Descale Internal Valve

In many models, a small black valve at the base of the reservoir controls water flow. This part often traps debris and moisture, making it a hotspot for mold.
Remove the Valve
Turn the reservoir upside down. Push the valve upward from the bottom until it pops out. Some models require twisting or pulling. Refer to your manual.
Clean by Hand
Massage the valve under warm running water for 30 to 45 seconds. Use a soft brush to remove gunk from flaps or slits. Soak in vinegar solution for 10 minutes if discolored.
Check Function: Ensure the valve snaps back securely and moves freely when pressed.
Use Distilled or Filtered Water
Tap water contains minerals like calcium and magnesium that contribute to limescale and biofilm, both of which shelter mold.
Why Tap Water Increases Risk
Minerals create rough surfaces inside tubing, allowing biofilm to anchor. Chlorine in tap water diminishes over time, reducing antimicrobial effect. Hard water areas see faster buildup, reducing water flow and increasing stagnation.
Switch to Safer Water Sources
Using distilled or filtered water prevents mineral accumulation, reduces need for frequent descaling, and lowers overall contamination risk.
Cost-Saving Tip: Buy distilled water in bulk or use a countertop filter pitcher. Both are affordable long-term solutions.
Store Properly to Avoid Moisture Traps
Even with perfect cleaning, improper storage can undo your efforts by keeping components damp.
Best Storage Practices
Leave the reservoir open or upside down on a drying rack. Keep tips uncovered or in a ventilated case. Never seal them in plastic. Avoid enclosed cabinets unless the device is fully dry. Place the device away from shower steam and sinks to reduce ambient humidity.
Ideal Environment
The ideal temperature is room temperature, 68 to 72 degrees Fahrenheit. Humidity should stay below 50 percent. Ensure ventilation by placing near an exhaust fan or open window.
Pro Tip: If you travel with a cordless flosser, let it air-dry for 12 hours before packing.
Replace Tips Every 3-6 Months
No matter how well you clean them, flosser tips wear out and become harder to sanitize over time.
Signs You Need New Tips
Replace tips when you notice reduced water pressure, cloudy or discolored plastic, persistent odor after cleaning, or cracks or warping. Worn tips harbor bacteria and mold in microscopic cracks, reducing cleaning effectiveness and increasing health risks.
Follow Manufacturer Schedule
Most brands, including Waterpik, recommend replacing tips every 3 to 6 months, similar to toothbrush heads. Label your tips with the installation date to track replacement.
Avoid Common Cleaning Mistakes
Even users with good intentions can accidentally damage their device or encourage mold growth.
Don’t Use Bleach or Harsh Chemicals
Bleach may kill mold but damages rubber seals and plastic components. It leaves toxic residues that can be inhaled. It reacts poorly with vinegar, creating chlorine gas. Stick to vinegar, hydrogen peroxide, or manufacturer-approved cleaners only.
Never Submerge the Base
The motor and electronics are not waterproof. Wipe the base with a damp cloth. Never run it under water or place in dishwasher. Keep charging ports dry, especially for cordless models.
Don’t Skip Weekly Cleaning
Infrequent deep cleaning leads to biofilm accumulation, reduced water pressure, lingering odors, and increased risk of respiratory symptoms. Set a recurring calendar reminder to stay on track.
Control Bathroom Humidity Levels
A humid bathroom increases condensation and slows drying, making mold growth more likely.
Ideal Humidity Range
Keep indoor humidity between 30 and 50 percent. Above 60 percent significantly raises mold risk.
Reduce Moisture in the Air
Run the exhaust fan during and for 20 minutes after showers. Open windows when possible. Use a dehumidifier in damp climates or poorly ventilated bathrooms.
Test It: Use an inexpensive hygrometer to monitor bathroom humidity levels.
Upgrade Air Quality with HEPA Filtration
Airborne mold spores can land in your flosser, even when it is not in use.
Use an Air Purifier
A HEPA-filter air purifier captures 99.97 percent of particles as small as 0.3 microns, including mold spores.
Place it near the sink area. Run it continuously or during and after showering. Change filters as recommended.
This adds an extra layer of protection, especially for allergy sufferers or those with asthma.
Follow Model-Specific Cleaning Guidelines
Cleaning steps vary between countertop and cordless models. Always refer to your user manual, but here are general best practices.
Countertop Models
Larger reservoirs hold more water, so empty immediately. Detachable handles and valves allow deeper cleaning. Many reservoirs are top-rack dishwasher safe. Check your manual. Longer tubing requires regular flushing.
Waterpik-Specific Tip: Soak tips in 1:2 vinegar-water for 5 minutes monthly. Run vinegar solution through the system, then flush with clean water.
Cordless (Portable) Models
Smaller tanks dry faster but still retain moisture. The charging base must remain dry. Wipe it after cleaning. Compact tips may need extra scrubbing. Avoid overfilling. Do not leave charged units plugged in indefinitely.
Warning: Never immerse cordless units in water. Only clean removable parts.
Replace the Unit If Mold Persists
Sometimes mold is too deep to fully remove, especially in hidden tubing or sealed components.
When to Replace Entire Device
Replace your water flosser if visible mold returns after multiple cleanings, if musty smell remains despite vinegar flushes, if you experience recurring sinus issues linked to use, or if internal parts cannot be accessed or dried.
Critical Note: For immunocompromised individuals or those with mold sensitivities, replacement is safer than attempted remediation. Spores and mycotoxins are nearly impossible to eliminate 100 percent.
Benefits of Consistent Maintenance
Taking a few minutes each week to care for your flosser pays off in multiple ways.
Stay Healthy
Proper maintenance prevents inhalation of mold spores and bacteria. It reduces risk of respiratory irritation and infections. It keeps your oral microbiome balanced.
Maximize Performance
Consistent care maintains strong, steady water pressure. It ensures effective plaque removal. It prevents clogs and flow issues.
Save Money
Regular maintenance extends device lifespan, often 3 to 5 years with care. It avoids early replacement costs of 50 to 100 dollars. It reduces need for medical visits due to mold exposure.
Frequently Asked Questions About Preventing Mold in Water Flosser
How Often Should I Clean My Water Flosser to Prevent Mold?
Clean your water flosser daily by emptying and rinsing the reservoir. Perform a weekly deep clean with soap and vinegar soaking. Run a monthly vinegar flush through the entire system.
Can I Use Bleach to Clean My Water Flosser?
No. Bleach damages rubber seals and plastic components. It leaves toxic residues that can be inhaled during use. Use white vinegar or hydrogen peroxide instead.
What Type of Water Should I Use in My Water Flosser?
Use distilled or filtered water. Tap water contains minerals that contribute to limescale and biofilm, which shelter mold. Distilled water prevents mineral buildup and reduces contamination risk.
How Do I Know If My Water Flosser Has Mold?
Check for visible discoloration in the reservoir or nozzle. Look for slimy texture or film. Notice a musty smell when using the device. Watch for reduced water pressure or unusual odors in the water.
How Often Should I Replace My Water Flosser Tips?
Replace tips every 3 to 6 months. Replace sooner if you notice cracks, discoloration, reduced water flow, or persistent odors after cleaning.
What Should I Do If Mold Keeps Coming Back Despite Cleaning?
If mold returns after multiple deep cleanings, the internal components may be contaminated beyond salvage. Replace the entire device, especially if you experience sinus issues or other symptoms after use.
Key Takeaways for Preventing Mold in Water Flosser
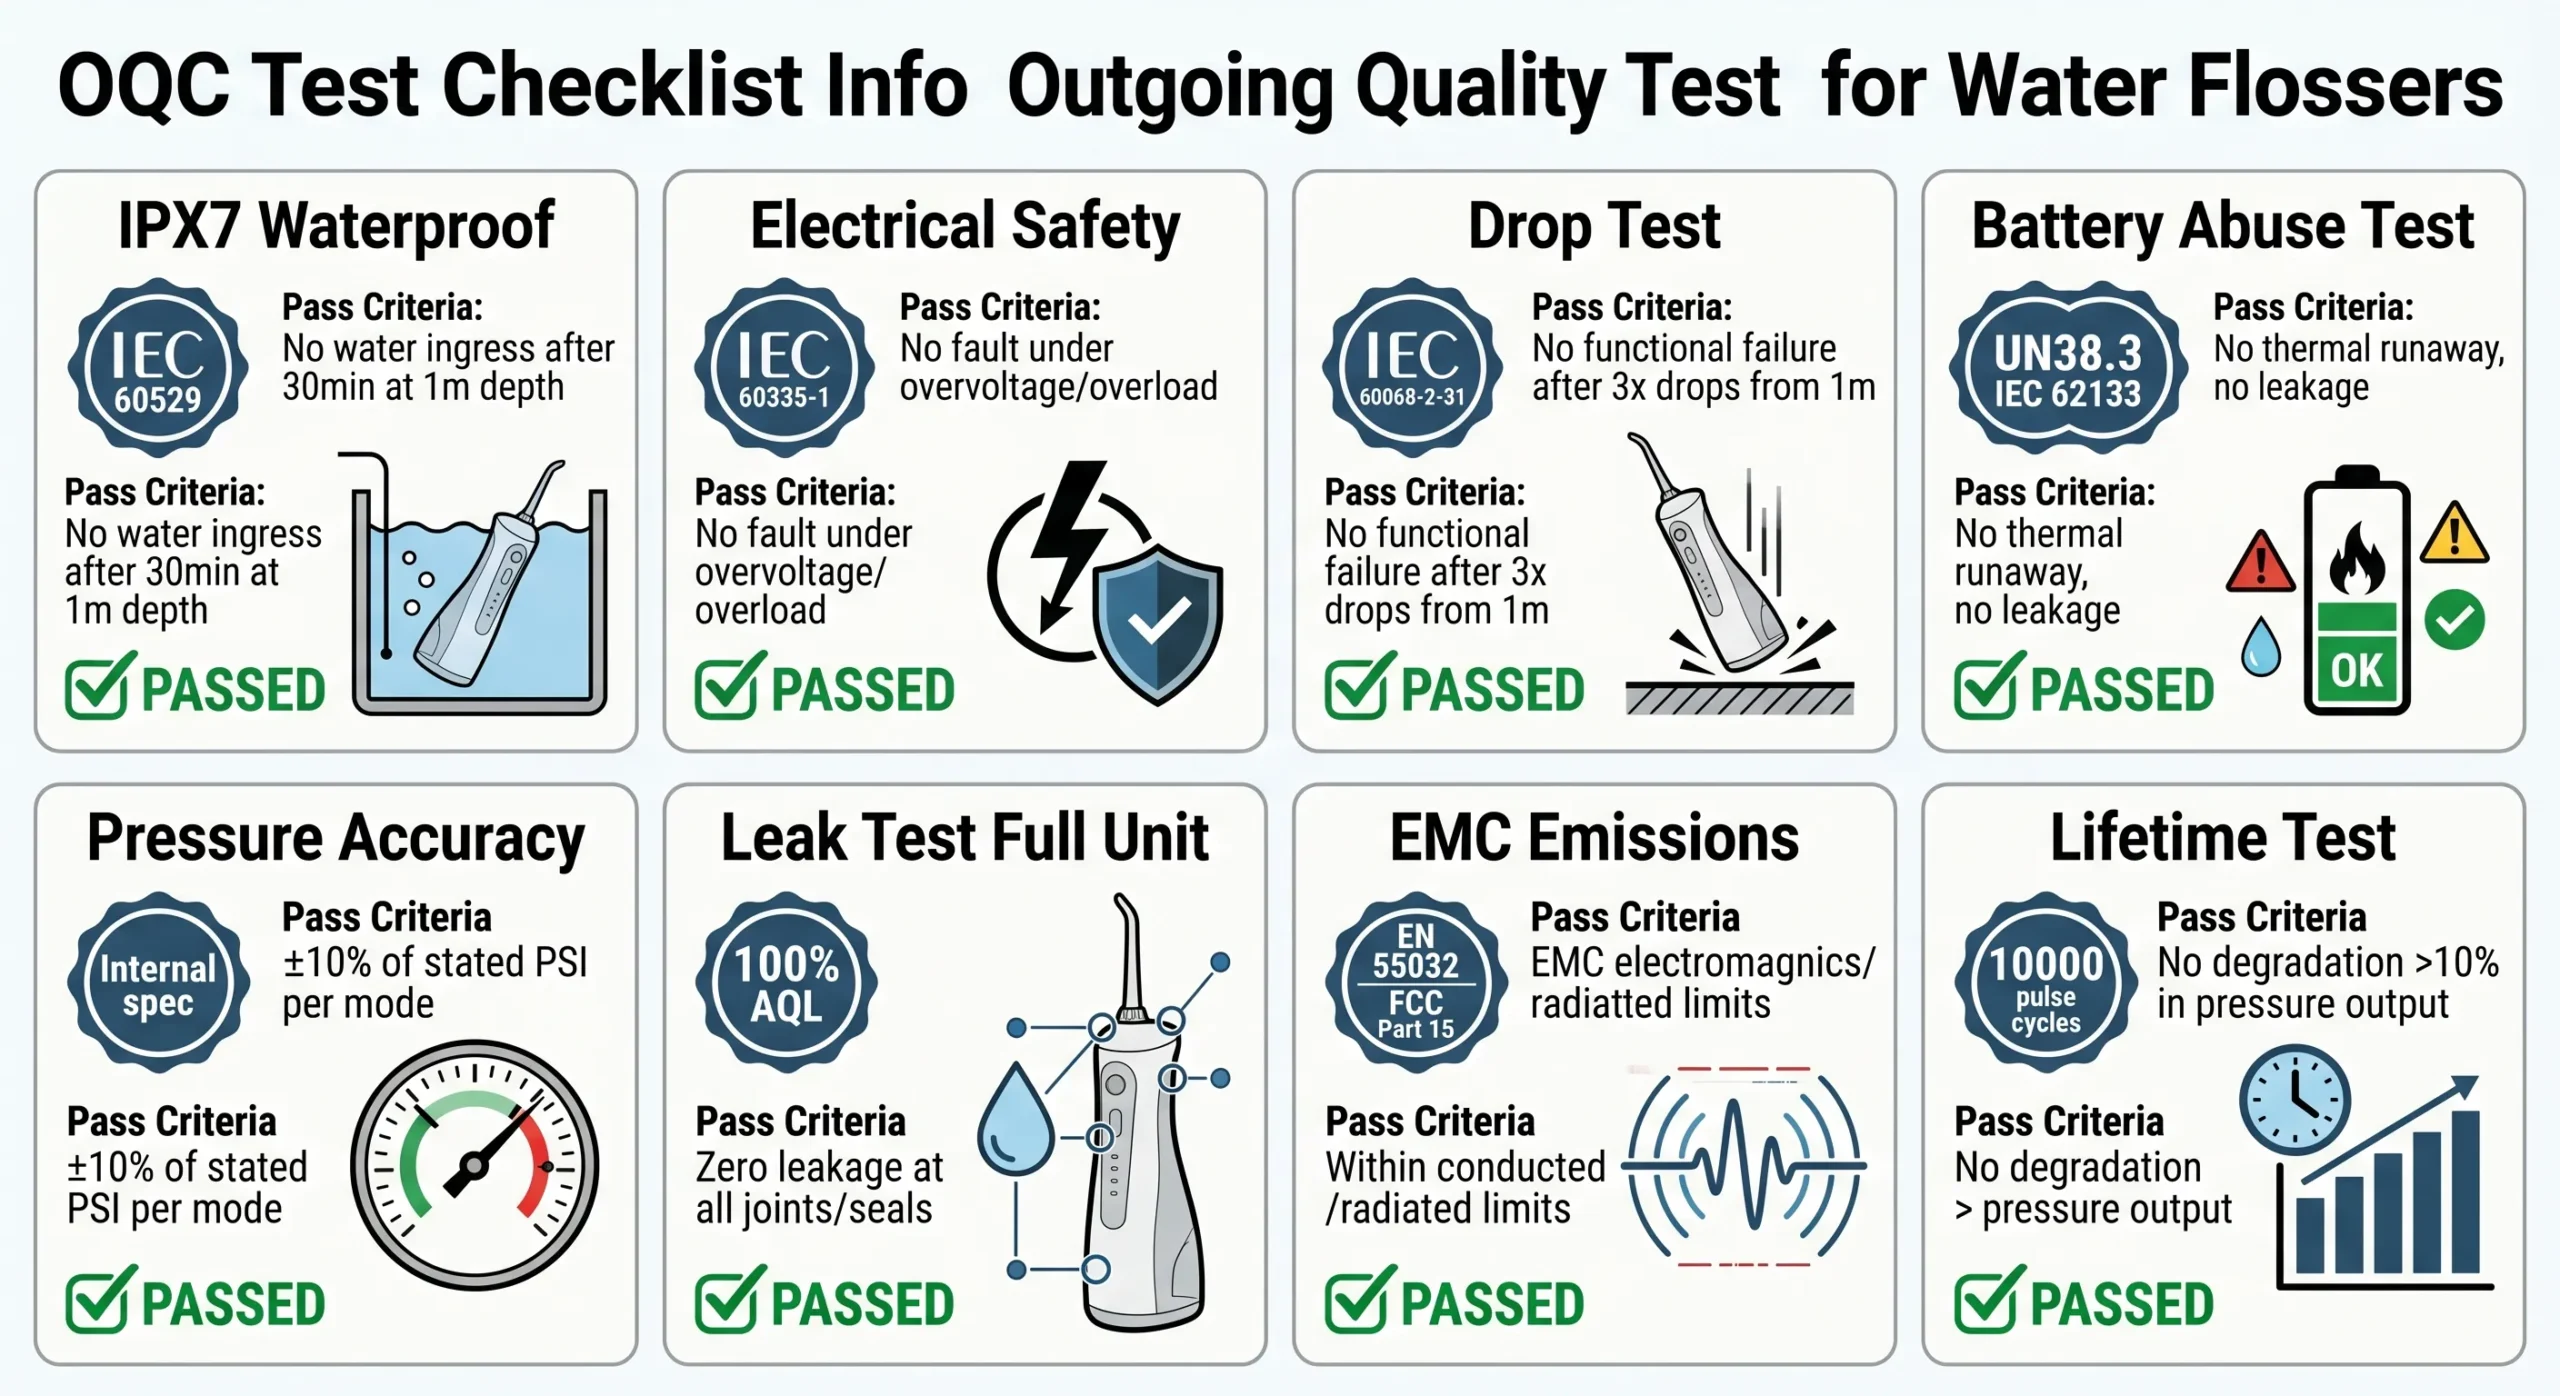
Your water flosser is a medical-grade hygiene tool, not just a convenience. Treating it with consistent care ensures it supports your health instead of undermining it. Empty the reservoir after every single use. This one habit eliminates the primary condition mold needs to survive.
Rinse and dry all components daily. Follow with a weekly deep clean using mild soap and vinegar or hydrogen peroxide soak. Run a monthly vinegar flush through the entire system to tackle biofilm and mineral deposits.
Store your device in a cool, dry, well-ventilated area with the reservoir open or upside down. Keep humidity below 50 percent in your bathroom. Consider using distilled water and replacing tips every 3 to 6 months.
Combine this routine with proper storage and environmental controls, and you will keep your device clean, safe, and effective for years to come.