
If you’ve just purchased an Oral-B Water Flosser and are wondering how to use it effectively, you are not alone. Many people switch to water flossing for a deeper clean, especially those with braces, implants, or sensitive gums. However, without proper technique, it is easy to miss spots or make a mess. The good news is that using an Oral-B Water Flosser correctly takes just minutes each day and can significantly improve gum health, reduce bleeding, and eliminate hidden plaque between teeth.
This comprehensive guide covers exactly how to use your Oral-B Water Flosser, step by step, from filling the reservoir to cleaning hard-to-reach areas around implants and braces. Whether you have the cordless Advanced model or a countertop version, these proven techniques ensure maximum effectiveness, minimal splash, and long-lasting device performance.
Prepare Your Water Flosser for Use
Fill the Reservoir with Lukewarm Water
Start by removing the water reservoir from your Oral-B Water Flosser. Fill it with lukewarm water. Avoid extremely cold water because it can trigger sensitivity in natural teeth. Hot water may damage internal components over time. Room-temperature or slightly warm water feels most comfortable, especially if you have exposed roots or gum recession.
If your tap water is very hard, consider using filtered or distilled water to reduce mineral buildup inside the device.
Add Mouthwash or Salt Water (Optional)
For enhanced cleaning and fresher breath, add a capful of alcohol-free mouthwash to the water. Avoid alcohol-based rinses because they can degrade rubber seals and cause cracking. Alternatively, mix half a teaspoon of salt in eight ounces of lukewarm water to soothe inflamed gums or help heal minor irritation.
Never fill the reservoir with undiluted mouthwash, essential oils, or bleach solutions. These can damage the internal pump and tubing.
Secure the Reservoir Properly
For cordless models, ensure the tank clicks securely into place. Check the O-ring or seal for cracks or misalignment. A damaged seal causes leaks. On countertop units, snap the reservoir firmly onto the base until it locks. A loose fit leads to overflow and inconsistent pressure during use.
Select the Right Nozzle for Your Dental Needs
Standard Jet Tip for Daily Use
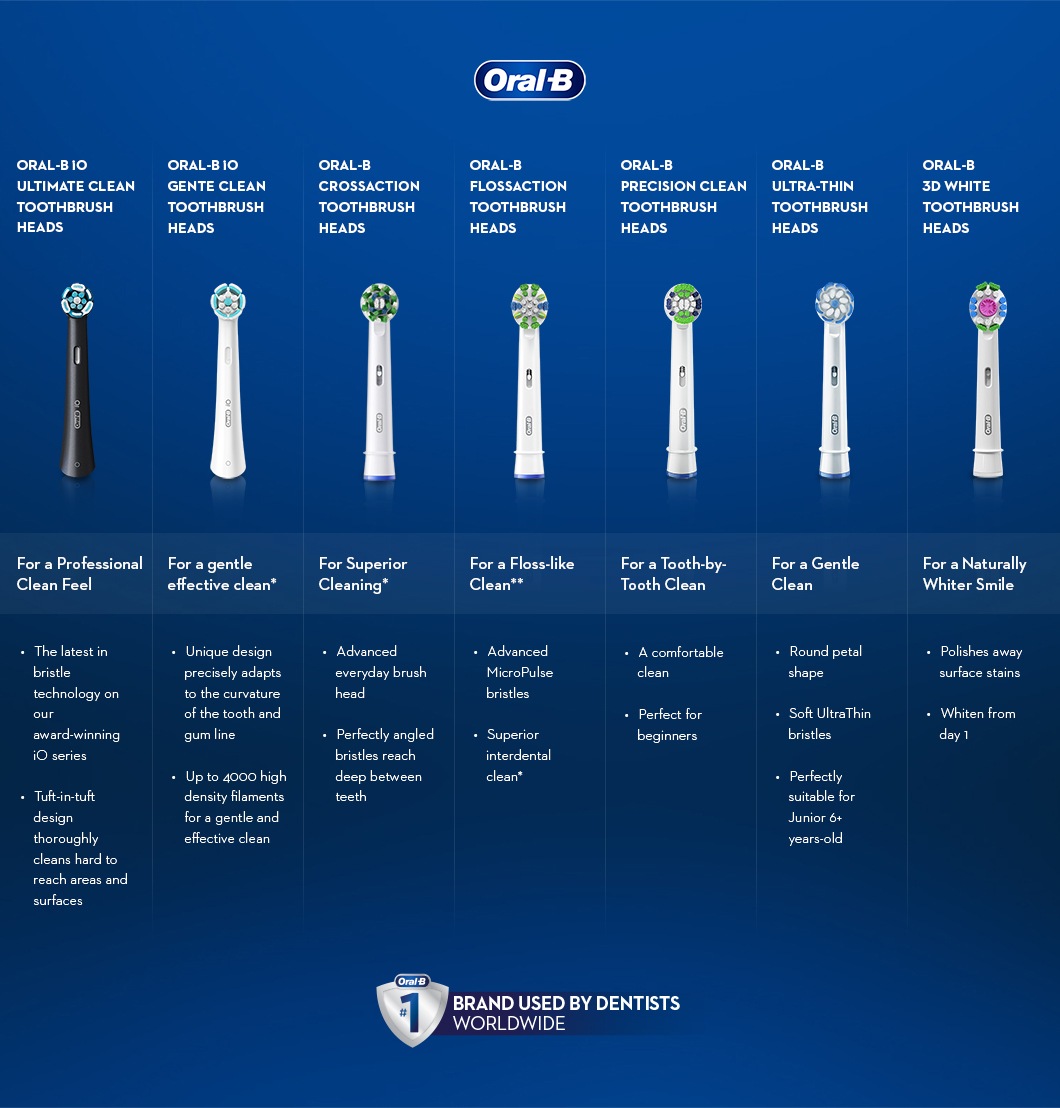
The Standard Angled Jet Tip works well for most users with natural teeth. Its angled design allows you to target the gum line easily. Attach it by pressing firmly onto the handle until it clicks. Use this tip for routine cleaning between teeth and along the gum margin.
Orthodontic Tip for Braces
If you wear braces, use the Orthodontic Tip. It features a tapered end with a rounded tip that slips under wires and around brackets to flush out trapped food. This tip is ideal for preventing plaque buildup that leads to white spot lesions, a common issue during orthodontic treatment.
Implant Tip for Dental Implants
For implants or sensitive gum tissue, choose the Implant Tip. It delivers a gentler stream with a soft, tapered nozzle that will not irritate healing sites or damage peri-implant tissues. Direct it at the base of the implant where bacteria tend to accumulate.
Prosthetic Tip for Dentures and Bridges
Use the Prosthetic Tip to clean under fixed bridges or around full-arch restorations like All-on-4. It is designed to sweep biofilm from the space between the gum and the prosthetic base, a prime spot for infection if neglected.
Label your tips if multiple people share the device. Rotate tips every three to six months for hygiene and optimal performance.
Position Yourself to Minimize Mess
Stand Over the Sink with a Slight Lean
Stand at the sink and lean forward slightly. This prevents water from running down your chin and reduces splashing across your bathroom counter. Keep your mouth open just enough to let water drain out freely into the sink.
Place the Nozzle Before Turning On
Place the tip in your mouth before turning on the device. Close your lips around it, but do not seal tightly. A small gap lets water escape into the sink without building pressure that causes sudden bursts. Think of it like holding a garden hose. Control the flow rather than blocking it.
Practice in front of a fogless mirror, such as a shower mirror, to see where the stream hits. Adjust the angle until you are hitting the gum line precisely.
Set the Correct Pressure Level
Start Low and Increase Gradually
Begin on the lowest pressure setting, especially if you are new to water flossing or have tender gums. A sudden high-pressure burst can cause discomfort or even minor tissue damage. As you get used to the sensation, increase to medium or high for deeper cleaning.
Most models offer three to ten intensity levels. The ideal pressure feels firm enough to dislodge debris but not so strong that it makes your gums jump or bleed.
Use Pulsing Mode for Precision Control
If your model, such as the Oral-B Water Flosser Advanced, has on-demand pulsing, use it. This lets you control the water flow with a button, perfect when navigating around braces or sensitive areas. You can pause between teeth without turning the device off and on repeatedly.
Never use maximum pressure on inflamed or healing gums. It can worsen irritation instead of helping.
Master the Flossing Technique
Start at the Back Teeth
Begin at your rear molars, the hardest-to-reach area. Work forward along the upper arch, then repeat on the lower arch. This ensures you do not skip any zones.
Angle the Tip at 45 Degrees to the Gum Line
Hold the tip at a 45-degree angle toward the gums, mimicking professional scaling technique. This allows the pulsating stream to penetrate the gingival sulcus, the tiny pocket between tooth and gum where plaque hides.
Spend Two Seconds Per Tooth
Pause the stream on each tooth for about two seconds. Move slowly and deliberately. Rushing reduces effectiveness. Cover both the outer buccal and inner lingual surfaces.
Target Problem Areas
Focus extra attention on between teeth where food gets stuck, along the gum line where plaque forms tartar, around braces or implants where brushing falls short, and under bridges or prosthetics where food packs in.
Shut Down Properly After Use
Turn Off Before Removing the Tip
Always switch off the device before pulling the nozzle from your mouth. Otherwise, water will spray across your bathroom, a common beginner mistake that creates an unnecessary mess.
Drain and Rinse the Reservoir
Empty all remaining water from the tank. Leaving water inside promotes bacterial growth and mold. Rinse the reservoir with clean water and leave it upside down to air dry. A dry reservoir prevents microbial contamination.
Clean the Nozzle
Remove the tip and rinse it under running water to flush out debris. Let it dry in a ventilated holder. Never store it damp in a closed case.
Perform Weekly Deep Cleaning
Flush With Vinegar Solution
Once a week, mix equal parts white vinegar and water. Fill the reservoir and run the device for 30 seconds to clean internal tubing. Vinegar dissolves mineral deposits and kills biofilm inside the pump.
Rinse With Clean Water
After the vinegar cycle, run two full reservoirs of clean water through the system to remove any vinegar taste or residue. This protects seals and ensures fresh performance.
Replace Tips Every Three to Six Months
Worn tips lose effectiveness. Replace them every three to six months, or sooner if the nozzle shows cracks or discoloration. If multiple people use the device, change tips more frequently.
Mark your calendar or set a phone reminder for monthly maintenance.
Use Around Braces, Implants, and Dental Work

Clean Around Braces Effectively
Braces trap food in tiny spaces. Use the Orthodontic Tip at medium pressure. Aim the stream under wires and around brackets. Floss after brushing to catch what brushing leaves behind.
Many users find it helpful to use the water flosser in the shower. No mess, and warm steam softens debris for easier removal.
Protect Implants and Crowns
Use the Implant Tip or Standard Tip at low to medium pressure. Focus on the margin where the restoration meets the gum. Avoid aggressive blasting. It will not clean better and may irritate tissue.
For bridges, angle the stream under the false tooth to flush trapped particles.
Maintain Dentures and Full-Arch Prosthetics
Use the Prosthetic Tip to clean the soft tissue beneath the denture or fixed arch. Sweep the stream along the gum line to prevent inflammation and infection under the prosthesis.
Water flossing can extend the life of your dental work by preventing peri-implantitis and gum disease.
Optimize Device Performance and Longevity
Charge Cordless Models Fully
The Oral-B Water Flosser Advanced lasts up to two weeks on a full charge with twice-daily use. Recharge when the indicator blinks. Use only the provided USB cable to avoid damage.
Manage Reservoir Capacity Smartly
Countertop models hold approximately 600 milliliters and can clean the full mouth without refill. Cordless models hold 150 to 200 milliliters and may need a refill mid-session. Keep extra water nearby if needed.
Refill quickly by detaching and topping off. No need to restart the device.
Check for Leaks and Seal Damage
If your device leaks, inspect the O-ring or tank seal. Clean it with a soft cloth. Replace if cracked. Contact Oral-B support for replacement parts.
Avoid Common Mistakes
Do Not Skip the Learning Curve
Expect a few days to master control. Splashing is normal at first. Practice with your mouth open slightly and use lower pressure until you are confident.
Never Share Tips Without Labeling
If multiple users share one unit, label each tip to avoid cross-contamination. Replace more often, every two to three months.
Do Not Use Harsh Cleaners
Avoid bleach, hydrogen peroxide, or undiluted mouthwash. These degrade internal components. Stick to the vinegar-water mix for deep cleaning.
Use in the Shower and While Traveling
Floss in the Shower for Zero Mess
Many users prefer water flossing in the shower. It eliminates sink splatter and combines well with morning routines. Just ensure the device is fully charged and placed on a non-slip surface.
Travel With Confidence
Cordless models are perfect for trips. Pack tips in a ventilated case, never airtight. Remove water before flying to prevent leakage from pressure changes.
Pair With a Complete Oral Care Routine
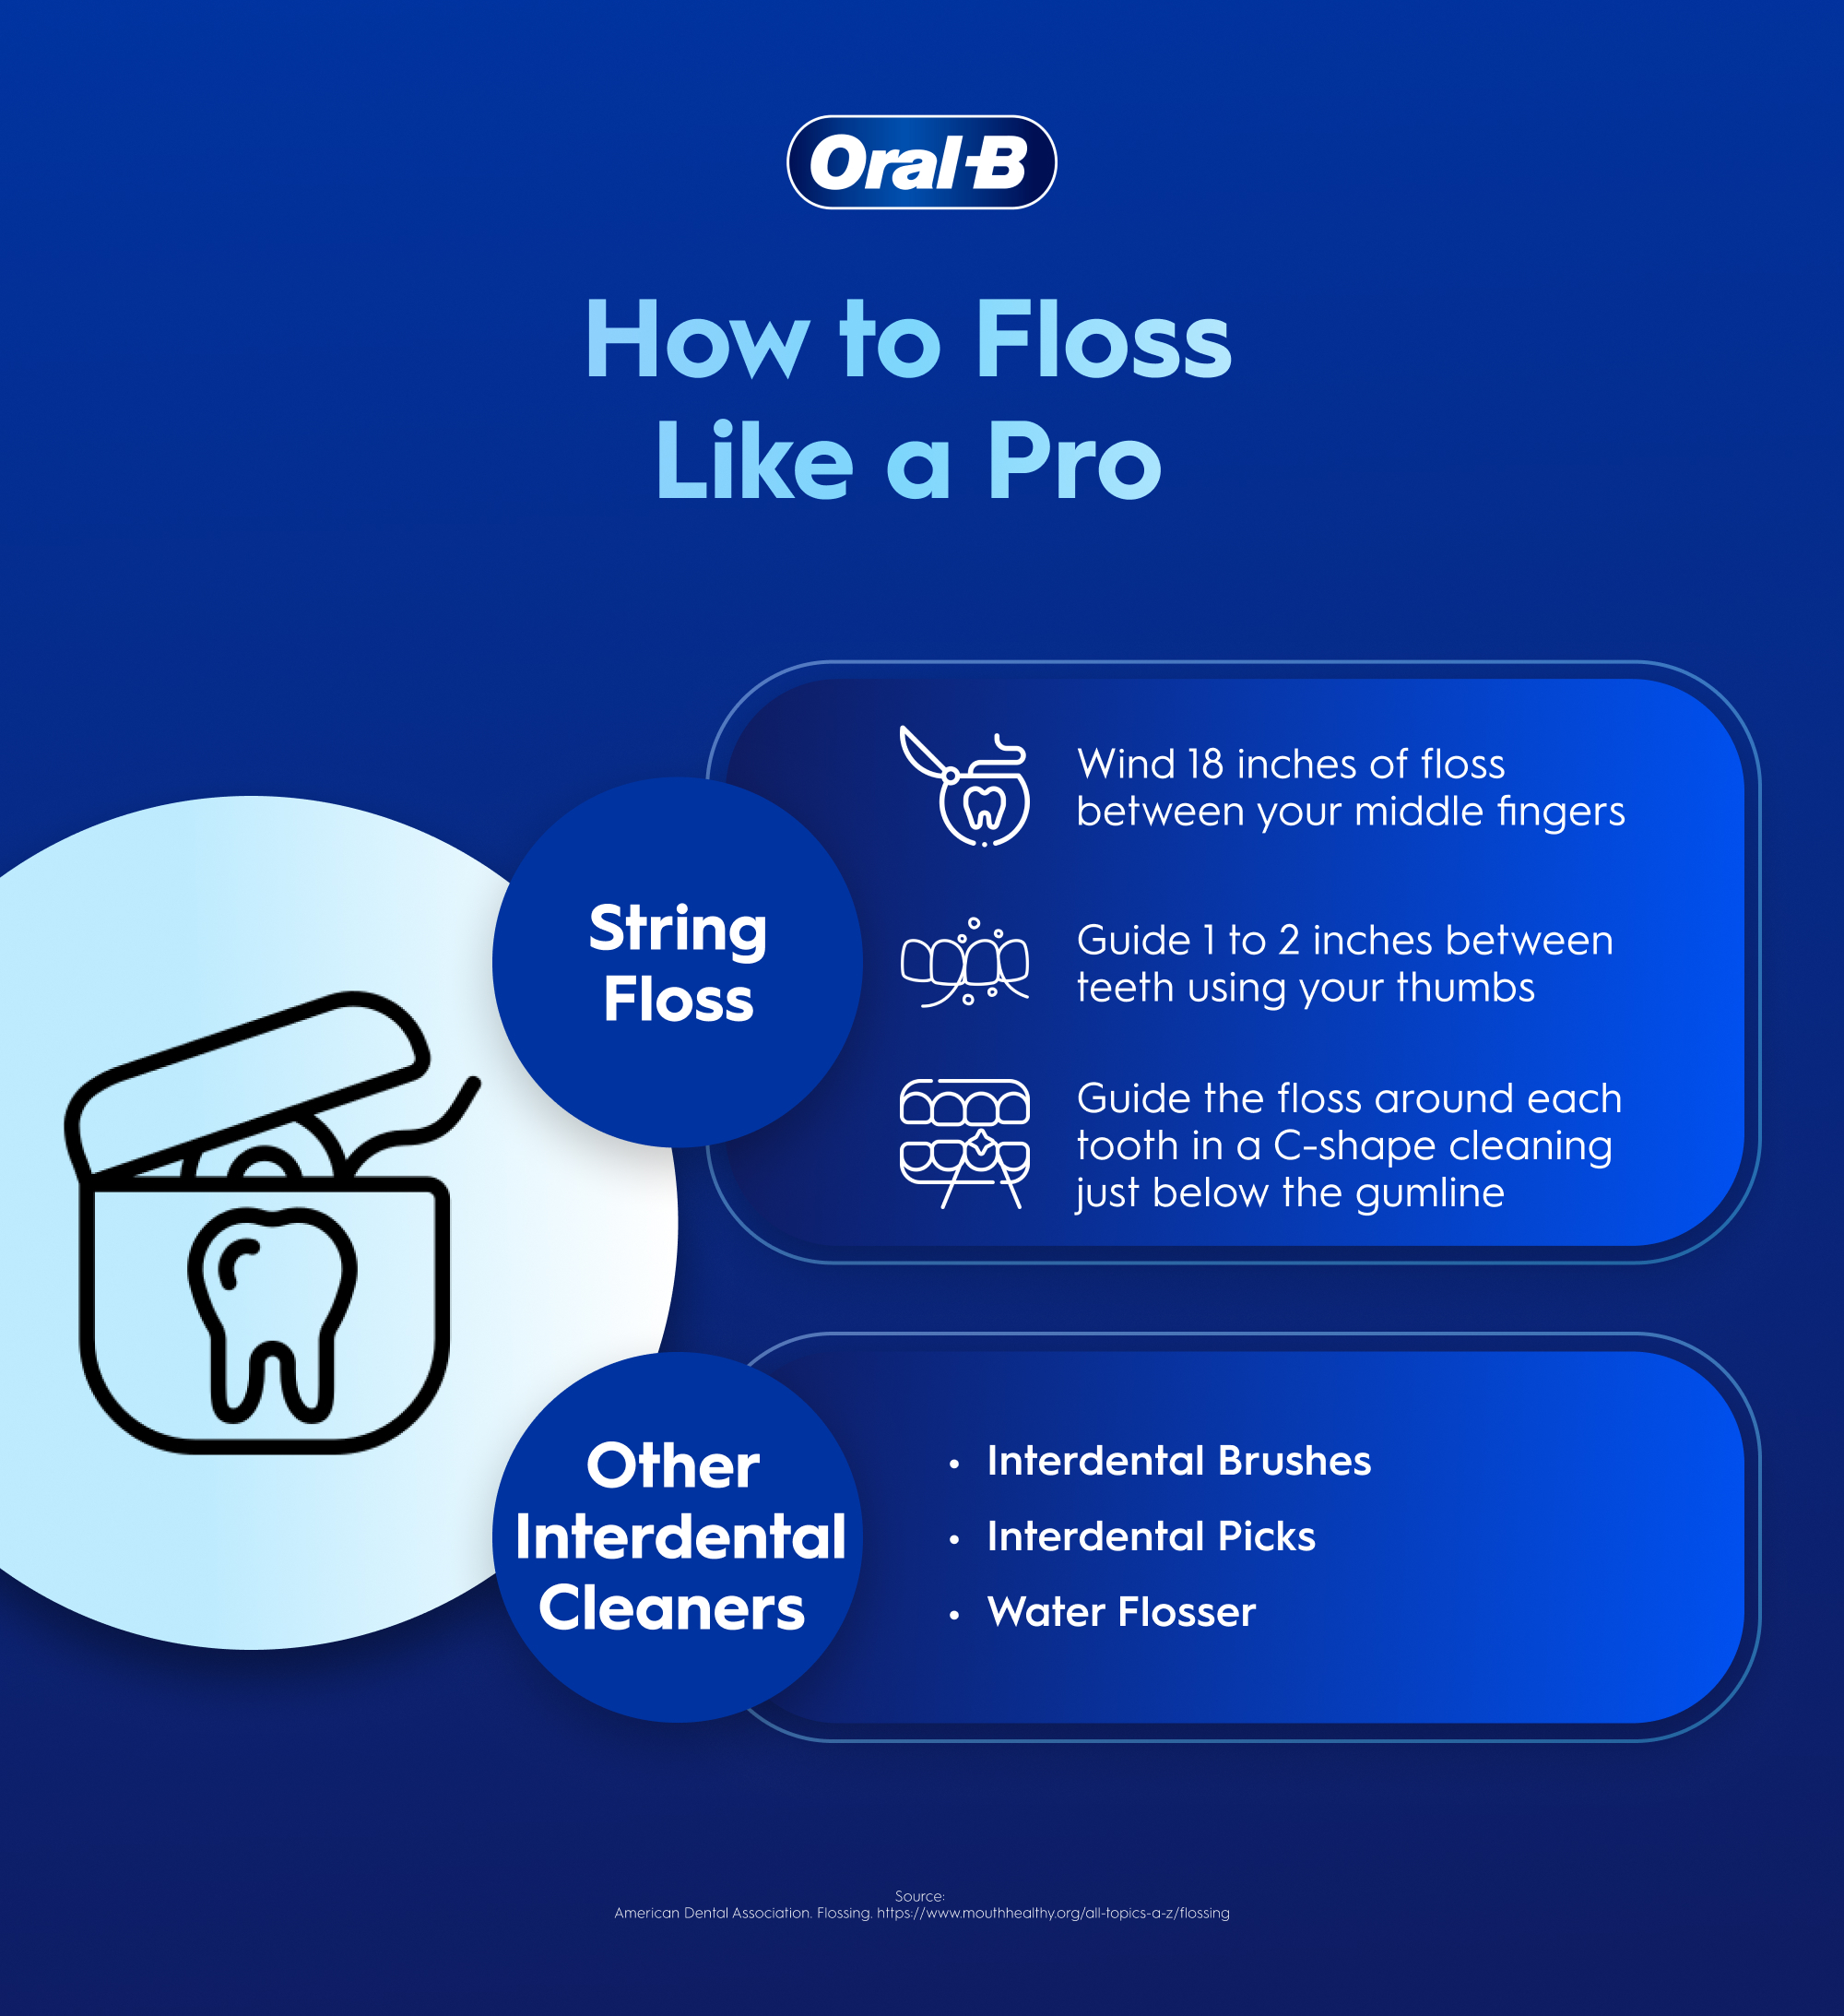
Remember that a water flosser supplements but does not replace brushing and string flossing. Use it after brushing, followed by traditional floss in tight spaces.
Studies show water flossers remove up to 99.9 percent more plaque between teeth than string floss alone when used correctly.
Frequently Asked Questions About Using an Oral-B Water Flosser
How often should I use my Oral-B Water Flosser?
Use your water flosser once daily, preferably after brushing your teeth at night. Consistent daily use provides the best results for gum health and plaque removal.
Can I use mouthwash in my Oral-B Water Flosser?
Yes, but only alcohol-free mouthwash diluted with water. Add a capful to the reservoir mixed with water. Alcohol-based mouthwashes can damage rubber seals and internal components over time.
Is water flossing better than string flossing?
Water flossing is not a replacement but a powerful supplement. It removes plaque in areas string floss may miss, particularly around braces, implants, and bridges. For best results, use both together as part of a complete routine.
Why does my water flosser leak?
Leaks usually stem from a damaged or misaligned O-ring seal. Check the seal for cracks or debris. Clean it with a soft cloth and ensure it is properly seated. Replace if damaged.
Can I use my Oral-B Water Flosser with braces?
Yes, absolutely. Use the Orthodontic Tip specifically designed for braces. Aim the stream under wires and around brackets to remove trapped food and plaque that brushing alone cannot reach.
How do I clean the inside of my water flosser?
Perform a weekly vinegar flush. Mix equal parts white vinegar and water, fill the reservoir, and run the device for 30 seconds. Follow with two cycles of clean water to rinse out any residue.
Key Takeaways for Using Your Oral-B Water Flosser
Using your Oral-B Water Flosser properly transforms your oral health. With consistent daily use, expect less bleeding, fresher breath, and cleaner teeth, especially if you have braces, implants, or dental work.
The most important steps are filling the reservoir with lukewarm water, selecting the correct nozzle for your dental needs, starting at low pressure, and angling the tip at 45 degrees toward the gum line. Spend two seconds on each tooth and always drain the reservoir after use to prevent bacterial growth.
Follow these steps, maintain your device weekly with a vinegar rinse, replace tips every three to six months, and consult your dentist for personalized advice. Your gums will thank you for the extra care.